Connecting your printer to your PC
FAQ ID: L00000511
Release date: 16 December 2016
Solution
To connect your printer to your PC, please follow below instructions:
Step 1: Access the following URL in your browser: http://canon.com/ijsetup.
Windows users setting up using a CD can skip ahead to Step 7.
Step 2: Click [Set Up].
![]()
Step 3: Select your region and product.
Step 4: Click on [Connecting to a Computer, Smartphone or Tablet] and select your operating system.
Step 5: Click on [Set Up].
Step 6: Click on [Download].
*If a download security warning appears, allow your web browser to continue downloading.
Step 7: Once downloaded, open the file and click on [Start Setup].
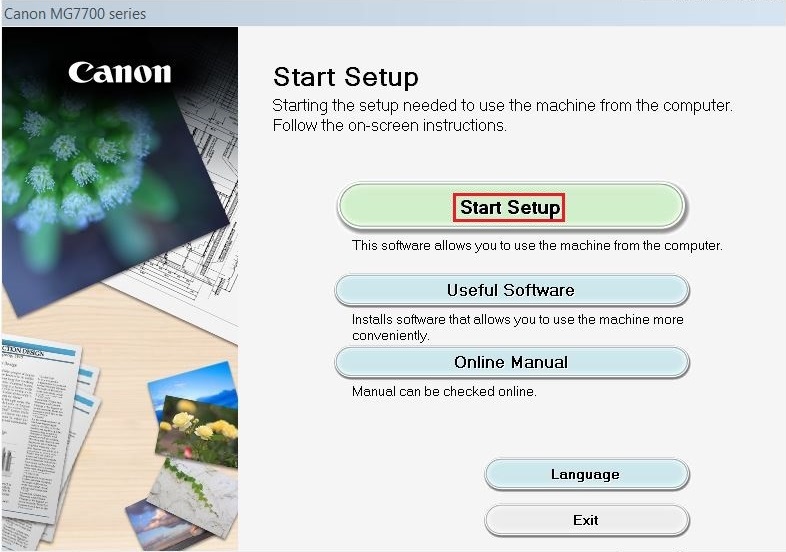
*To select your local language, click on 
Step 8: Follow the on-screen instructions to continue the setup, until you reach Select Connection Method.
Step 9: Select one of the printer connection methods listed below and click [Next].
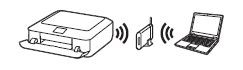
- Wireless LAN Connection
Connect the printer to your computer using your Wi-Fi network.
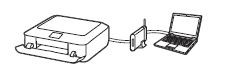
- Wired LAN Connection
Connect the printer to your computer with an ethernet cable.
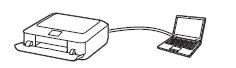
- USB Connection
Connect the printer to your computer with a USB cable.
Step 10: Follow the on-screen instructions to complete the setup.
When the below screen appears, connection setup is complete.
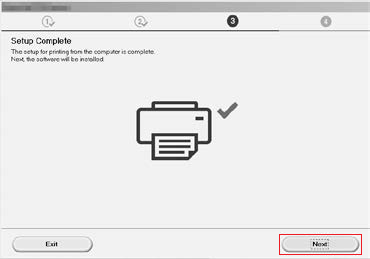
Step 11: Click [Next] to continue installing the software.
Step 12: Select the software you want to install and click [Next].
Step 13: Follow the on-screen instructions to complete the software setup.
Now your computer is connected to the printer.
Applicable Models
- PIXMA MG7740
- PIXMA MG7750
- PIXMA MG7751
- PIXMA MG7752
- PIXMA MG7753